 |
| Preflowers |
There are countless guides online for distinguishing male/female plants, but here are some photos to help:
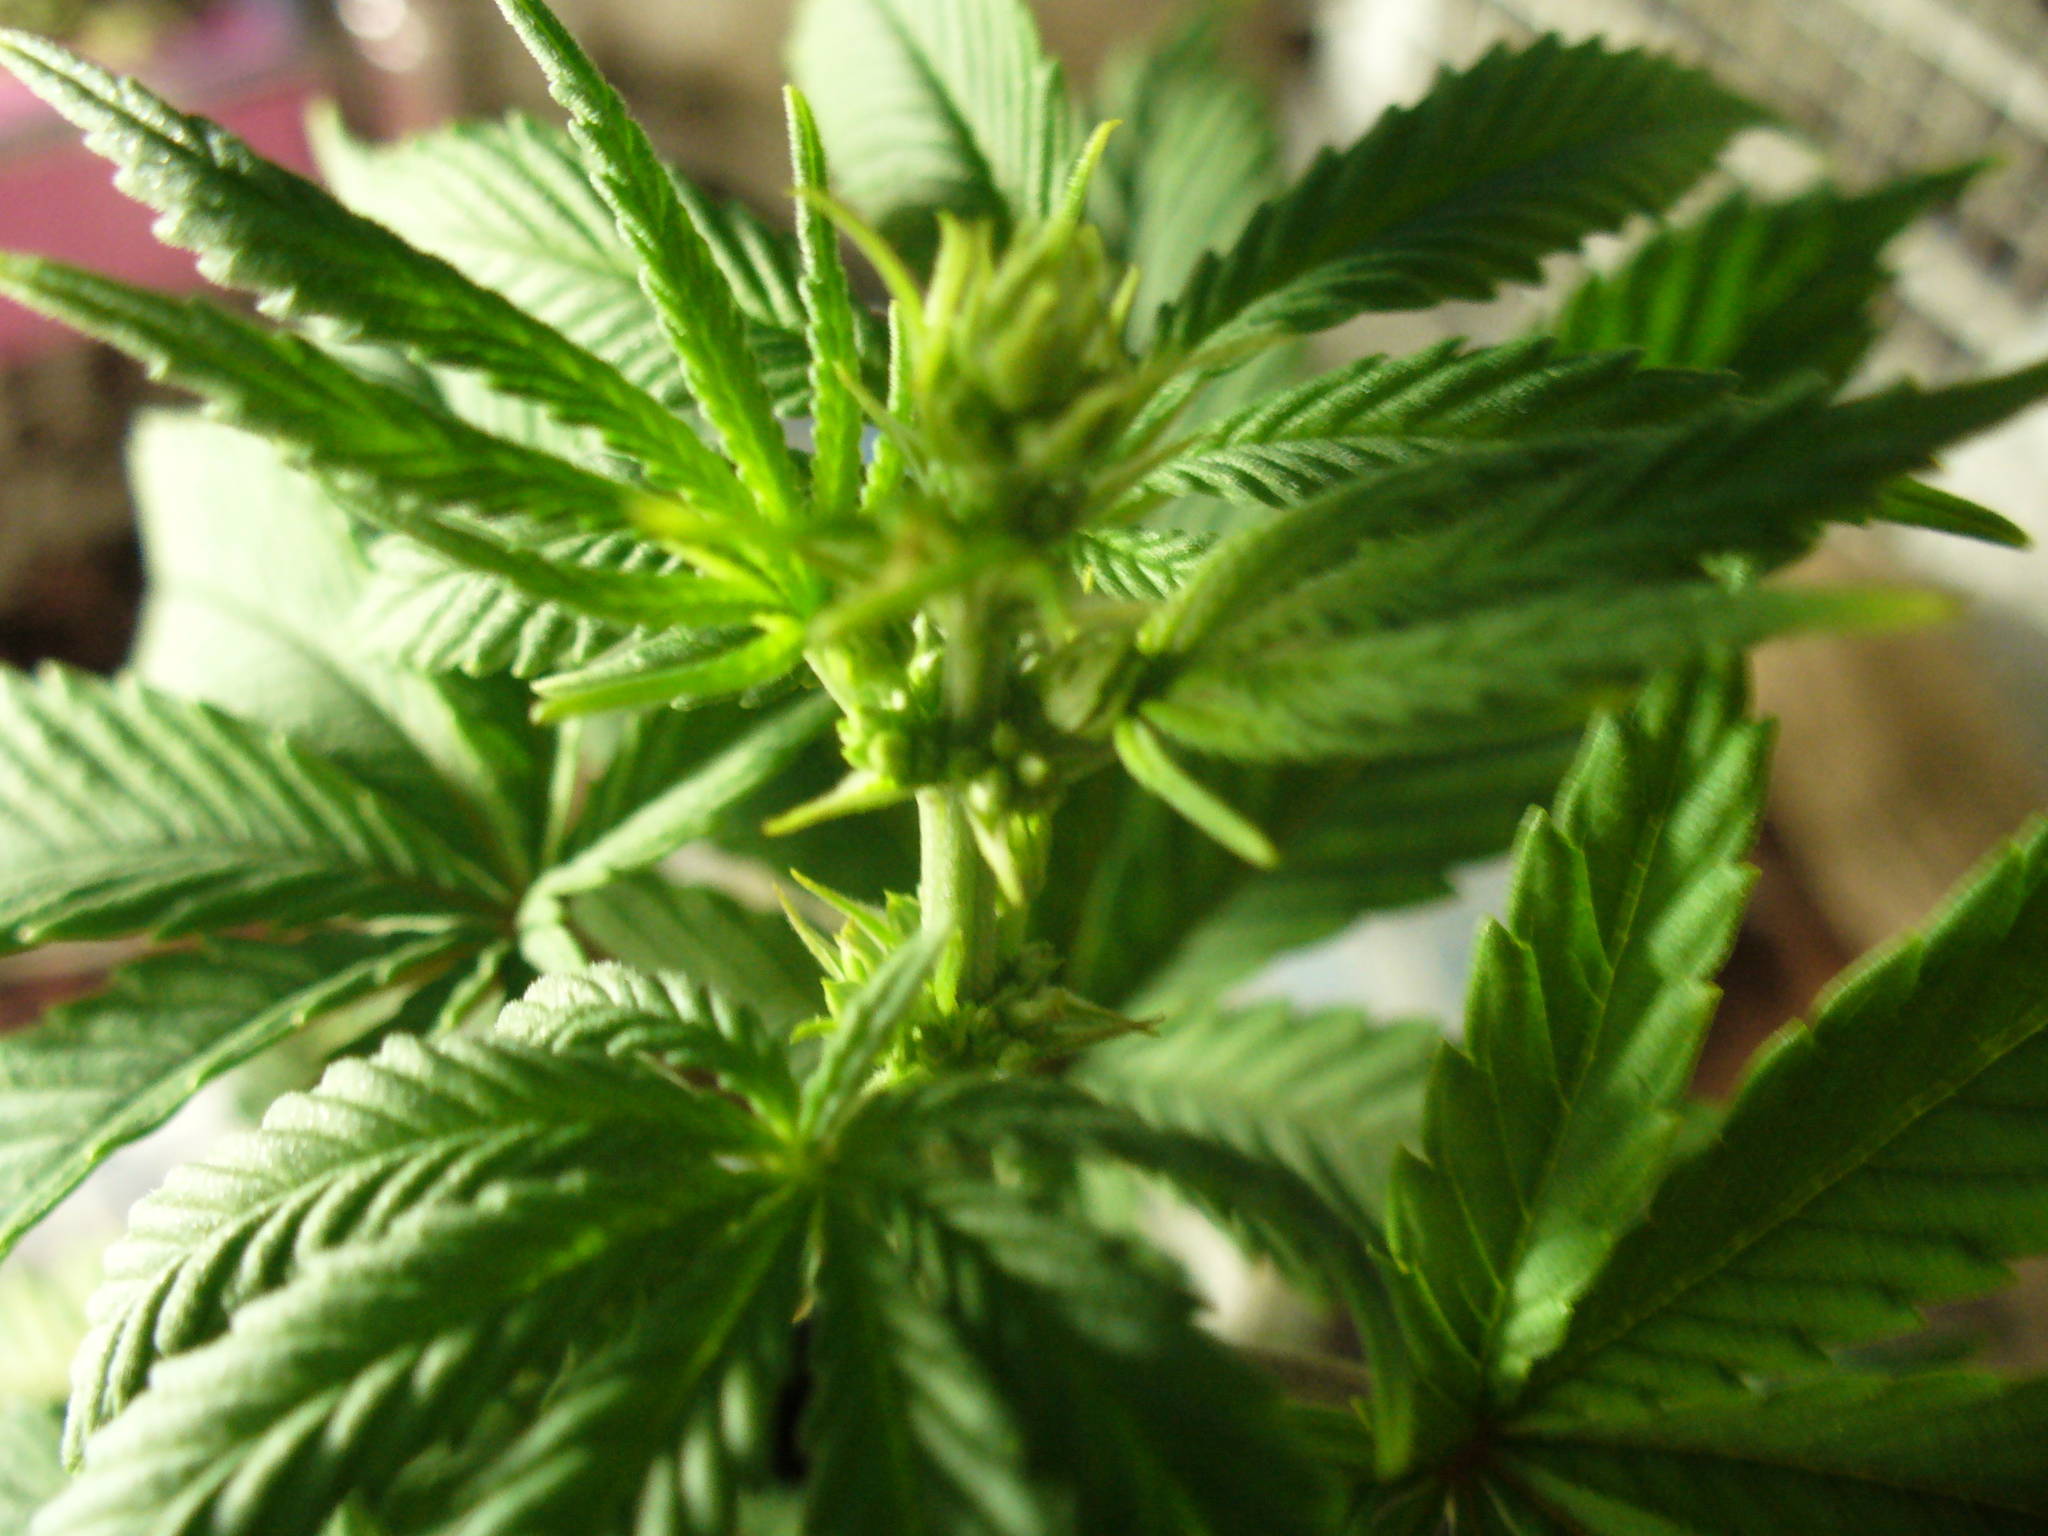
 |
| Female plant w/ white pistils ("hairs") & teardrop calyx |
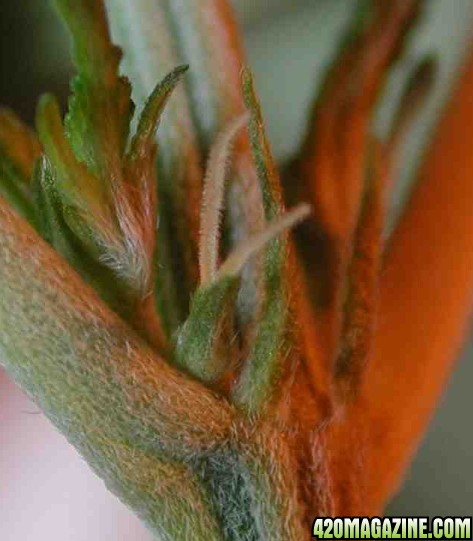
 |
| Male plant with stamens, aka "balls." |
You will probably need to raise your grow lights a couple inches during the preflowering stage due to rapid growth, which shouldn't be a problem if you have a clamp-on light or other easily moved piece. If you have any side lighting or additional bulbs, Week 5 or 6 is a good time to add them. You can continue with a 20/4 or 24-hour light cycle if you wish, but I chose to pull back to 18/6 in Week 5 to save on electricity for the rest of the grow. Remember to keep your bulbs about 4 inches away from the plant's surface--close enough to be effective but not so close it overheats. If you see any cupping or "taco-ing" (folding down the middle in the shape of a taco shell) of the leaves, that's a sign of heat stress. Pull the bulb away a bit.
While flowering has technically started, it's important to continue feeding a nitrogen-rich supplement all the way through this phase to prevent deficiencies later on. This will also support the rapid growth that's taking place now. My plant developed its first yellow leaves in late Week 4 when growth was accelerating, so I fed her some grass clipping tea (rich in nitrogen & potassium). I applied it with a spray bottle to the leaves & then added some to her regularly scheduled watering in Week 5. She responded great & the yellowing stopped. But you can continue using the same general purpose vegetative fertilizer you've been using if you don't want to make your own. Nitrogen deficiency presents as yellowing leaves starting at the bottom of the plant & moving upward. When severe, the stems will turn purplish red & the leaves will get crispy on the ends & die. But nitrogen deficiency is easily reversed by feeding some balanced N-P-K fertilizer, heavy on the "N".
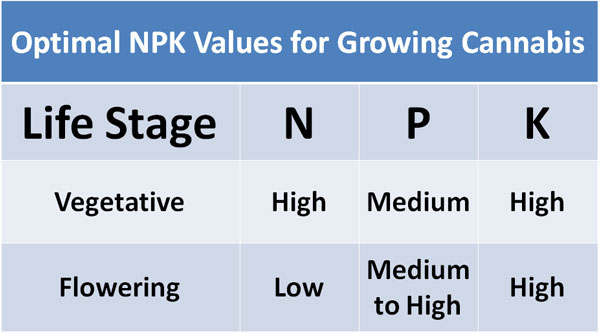 |
| Nutrient chart. Stay with vegetative fertilizer during preflower. |
Preflower is also when you'll want to start adding phosphorus to your feeds. Phosphorus increases the number of bud sites on your plant while improving stem strength, nutrient uptake & disease resistance. It's found naturally in the shells of crustaceans like shrimp, as well as bone meal & rock dust. I used Tetramin brand fish flakes as my phosphorus source, but be careful if you go this route as Tetramin also contains a lot of other ingredients with unknown effects. I couldn't tell whether it had any effect on the plant at all--good or bad. You're better off going with a trusted source of phosphorus such as kelp meal, bone meal or bat guano.
As for the frequency of these nutrient feedings, you should follow the directions on your fertilizer container or simply apply the homemade stuff as needed. I made a pre-planned schedule for feeding that worked pretty well. You certainly don't need to feed with every watering if you're growing in soil. Here's what my fertilizing schedule looked like for those curious:
PSYCHONAUT'S HOMEMADE FERTILIZER SCHEDULE
WEEK 1: ---
WEEK 2: ---WEEK 3: Diluted urine (12:1 solution) - 1 time application
WEEK 4: Grass clipping tea (1:1 solution) - 2 foliar applications with spray bottle
WEEK 5: Grass clipping tea (1:1 solution) - 2 applications + Tetramin fish flakes - 1 application
WEEK 6: ---
WEEK 7: Banana tea - 2 applications
WEEK 8: Emergency FLUSH (plain water x 3 cups) + Diluted urine (8:1 solution)
WEEK 9: Diluted urine (8:1 solution) + Tetramin fish flakes; Epsom salt - 1 application
WEEK 10: Pure Maple Syrup + Brown sugar - 1 application; Epsom salt - 1 application
WEEK 11: Ice water flush
(The banana tea was the only mistake in terms of my fertilizer choices. I recommend choosing a different potassium source, but we'll save that for the next article since it's more of a "flowering phase" issue anyway).
 |
| Phosphorus-rich fertilizer. Use in moderation. |
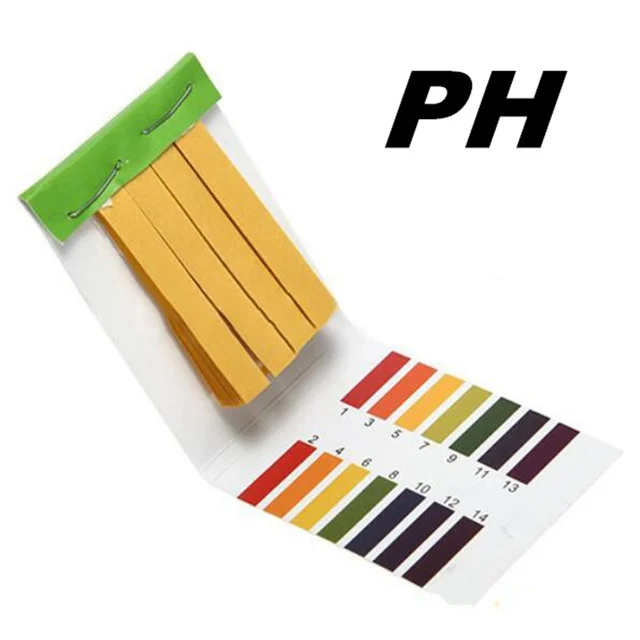
Once you start fertilizing, it's important to check your pH levels (if you haven't already been doing so). You can get a digital pH meter or the cheaper strips for this. I went with the cheap $0.83 strips which aren't all that easy to read but aren't exactly Advanced Calculus either. Make sure to dip the strip in your water AFTER adding the fertilizer so you'll get an accurate reading. Shaking up the solution can cause fluctuations in pH so check it before shaking. You want to aim for readings between 6 & 7 when growing in soil. Anywhere in that range is okay, and variations with each watering are ideal since different nutrients are absorbed at different pH ranges.
Don't let all the nutrient/fertilizer talk scare you away. If it seems too daunting, go with a store-bought variety & follow the instructions on the container. I just preferred to try it with all natural items to see what would happen, and it turned out great for the most part. There are basically only two types of nutrients you might need: vegetative & flowering formulations. If you only get one, let it be a general purpose balanced NPK fertilizer. When in doubt, use less rather than more. Deficiencies are much easier to fix than nutrient burns. The goal during Weeks 4, 5 & 6 is to support the plant's rapid growth & ease the transition from vegetative to flowering phase. You can do that by feeding nitrogen all the way through the end of Week 6 and adding a phosphorus source starting around Week 5.


.jpg)
.jpg)
No comments:
Post a Comment