- Hanging the branches whole: Leave the buds on the branches & hang the plants upside down to dry. This method keeps moisture in longer & is ideal for dryer climates, but it can be used anywhere as long as there's adequate circulation.
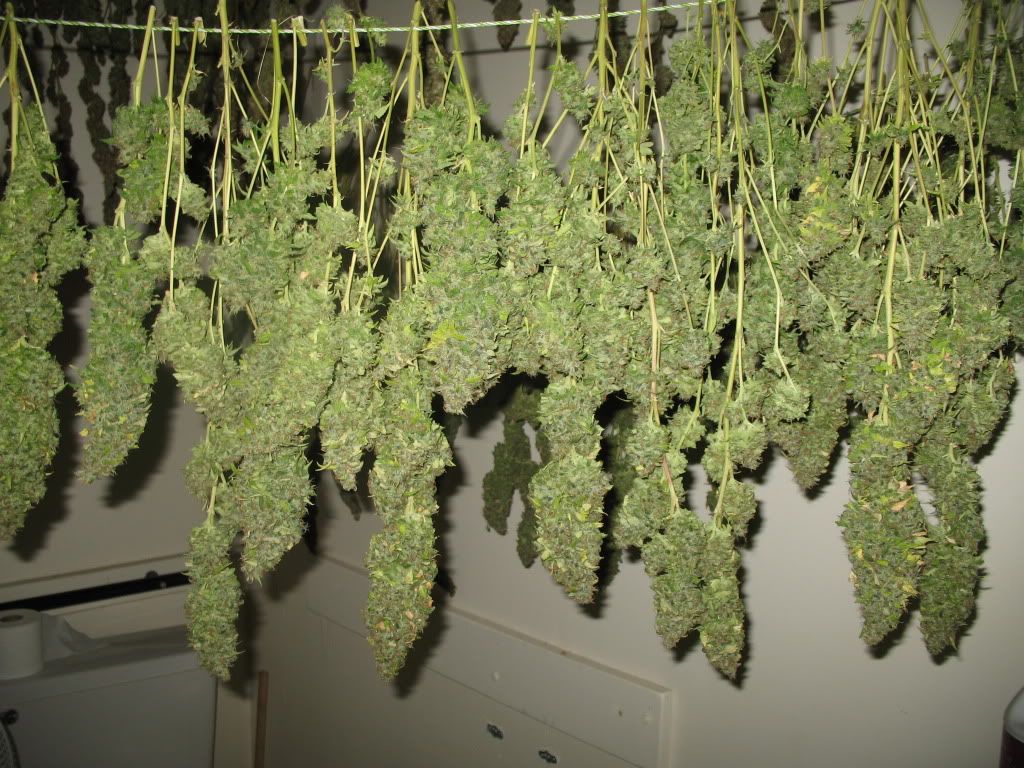 |
| Hang-dried plants |
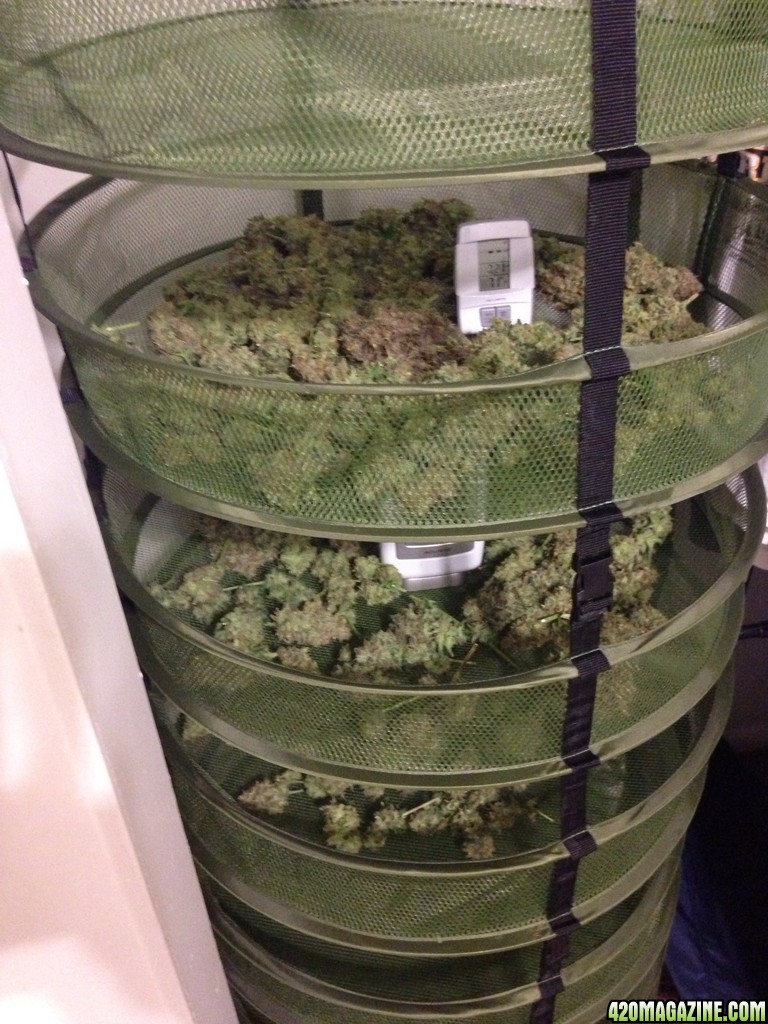 |
| Rack drying individual buds |
Don't point your fans directly at the plants, as this causes uneven drying. But make sure they have access to freely moving air at all times. You don't want to hang them in a dark, closed closet or other tight space. They need to breathe! Also: Protect your drying plants from direct sun exposure, as UV light destroys THC & other cannabinoids. A dark, well-ventilated room with a cool temperature is what you should aim for during this period. No space heaters or other sources of heat should be introduced. There are ways to speed up the drying process but they destroy precious terpenes & THC so they're generally not worth it.
How do you know when your buds are done drying? When the outside is crunchy & the inside cushy. The small stems should audibly 'snap' when bent back. If they bend or leave any "stringiness" behind, your plants aren't dry yet. This isn't an exact science so don't obsess but do check your plants daily to monitor their progress. Many growers (including me) find that their buds lose most of their smell during the drying process, which can be a major bummer if you're a fan of terpenes. But a proper cure can restore most of the smell & flavor.

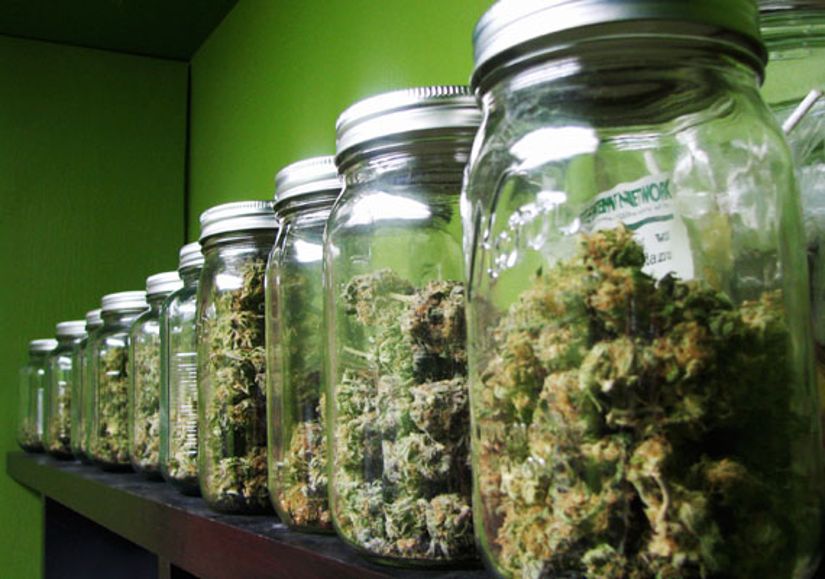
Once the outside of your buds are dry to the touch & the stems snap when bent, you're ready to start your jar cure. While there are other exotic methods of curing such as the corn cob method popular in Malawi, a mason jar with an airtight lid is the cleanest/most common method by far. Simply choose some jars big enough to hold your buds, fill them 3/4ths full & close the lid tightly. Place them somewhere dark & cool and you're ready to roll.
During the first week of curing, open your jars daily to let fresh air in & excess moisture out. The wetter your buds are, the longer you should leave the lid off each day. Here's a helpful chart:

Continue opening your jars every day during Week 2, if only for a few minutes. Don't be afraid to tumble your buds around, pick them up & turn them over & otherwise move them around as this helps with the curing process. By the end of Week 2, your buds are ready to smoke. Yippee! But some growers prefer to cure their buds longer, up to a month or more. They will continue to improve for 6 months in the jars & can be stored there indefinitely as long as you keep them somewhere dark, dry & cool. When storing bud long term, it's a good idea to open the jars ever so often to 'burp' them for just a few minutes again. Maybe once a month or so.
I sampled my bud in various stages of the curing process (right after drying, after a few days in the jars, a week in, etc) and they definitely get more potent the longer you leave them in. In fact, there was little to no high smoking the freshly dried but uncured weed. Some users claim they prefer to vape uncured bud for the flavor but the overwhelming consensus is that curing is a necessary & vital part of the process. It certainly burns more evenly & smoothly after the entire curing phase is done. There's not a lot of research on what happens during curing, but it's believed that some inactive cannabinoids break down into THCv, making them more potent. So it's totally worth the wait.
That's it! You've completed your grow & now have some awesome weed to smoke. (Or vape, extract or whatever). If you're like me, you'll find that the weed you grew yourself is more satisfying than anything your dealer or budtender can give you. Maybe it's the placebo effect at work but even so, many growers feel the same. Congrats on your new obsession...I mean, "hobby". 😇


.jpg)
.jpg)
No comments:
Post a Comment